 RigLoot
The $1,200 No-Compromise 1440p Build
Max settings, high refresh and years of headroom — the 1440p build with nothing left to apologise for.
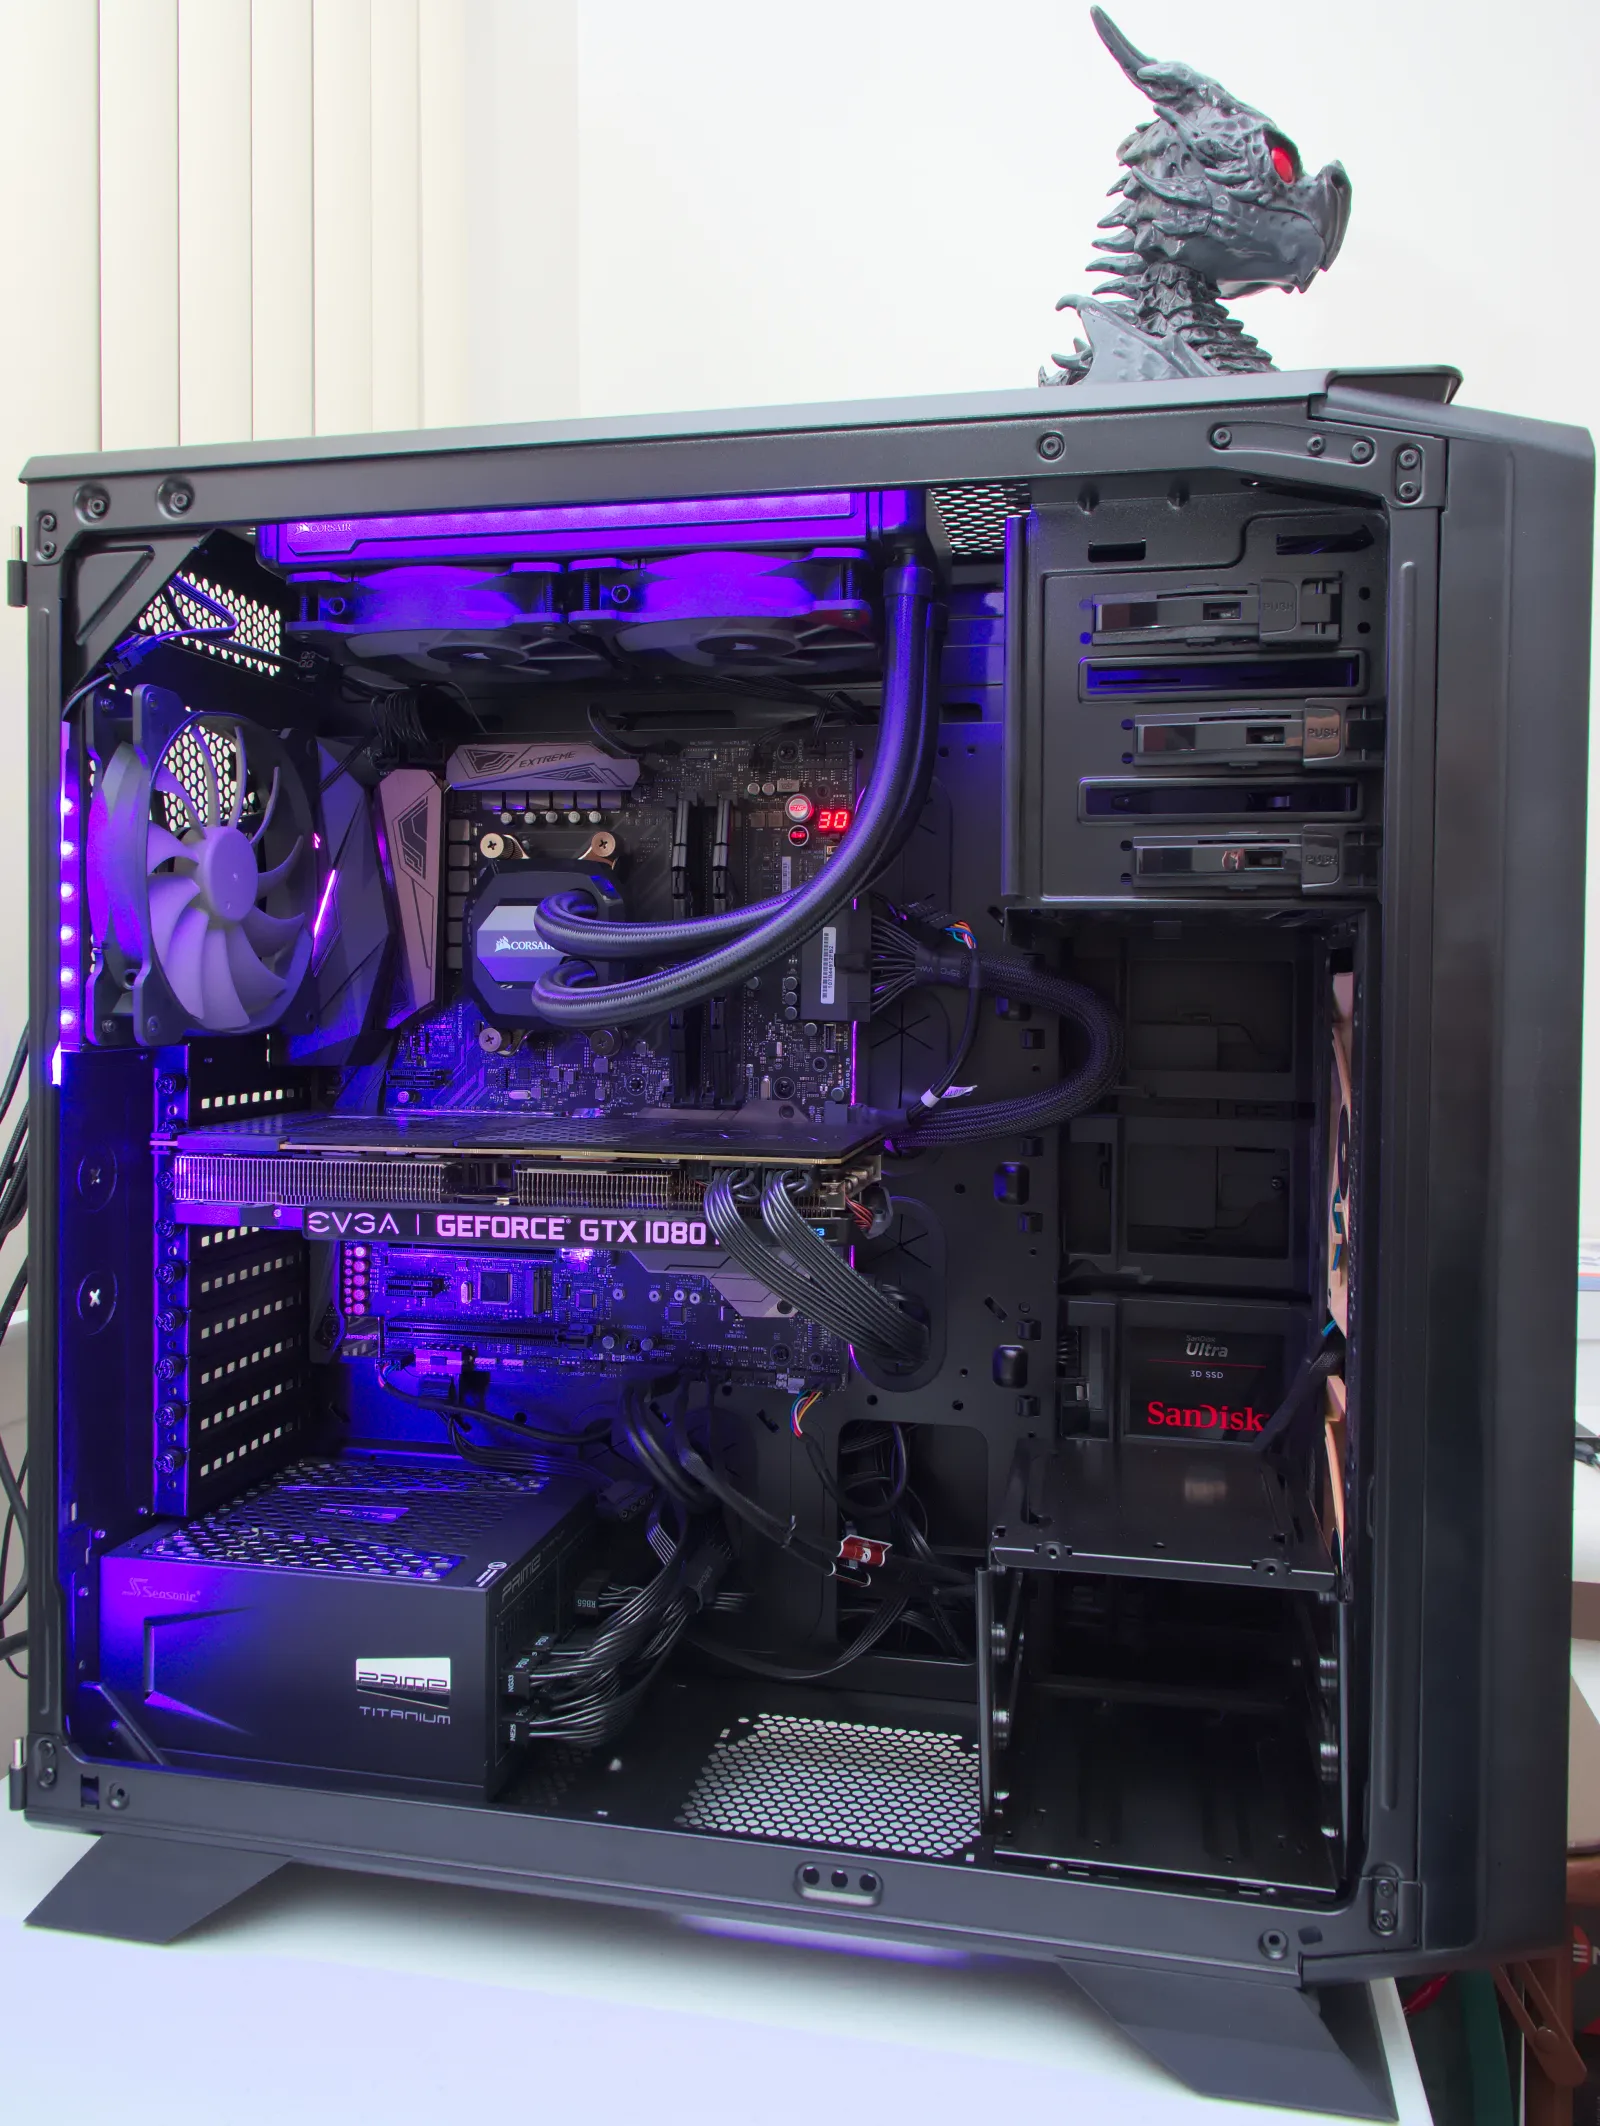
Image: · bwDraco · CC BY-SA 2.0
Twelve hundred dollars is where a 1440p PC stops making compromises. This build pairs the best value gaming CPU on the market with a 16GB graphics card that eats ultra settings for breakfast, then rounds it out with the quiet cooling and clean power that separate a build you love from a build you tolerate. It is aimed squarely at the player who wants to set everything to ultra at 1440p, forget about it, and still be gaming happily on this machine in 2029.
Who this build is for
This is for the enthusiast who plays demanding single-player games at their prettiest and still wants 120+ FPS in competitive titles — and who does a little streaming, editing or content work on the side. It targets 1440p ultra with room to enable ray tracing, and it will drive a 1440p 165 Hz panel with ease. Crucially, it is balanced: there is no weak link dragging down an otherwise strong system, which is the most common mistake at this budget. Every part is chosen to complement the others, so nothing bottlenecks and nothing is wasted.
The parts list
- CPU — AMD Ryzen 7 7800X3D (~$320): Still the value gaming champion. Its stacked 3D V-Cache is worth an enormous amount in CPU-bound and 1% low frame rates, and it does so while sipping power and staying cool. You could pay more for a 9800X3D, but at this budget the 7800X3D is the smarter allocation of dollars.
- GPU — AMD Radeon RX 9070 16GB (~$500): A big step up in raster and ray-tracing muscle over the entry tier, with a 16GB buffer that future-proofs you against VRAM-hungry textures. FSR upscaling and frame generation give you a further cushion in the heaviest games. An RTX 5070 is the natural NVIDIA alternative if you prioritise DLSS and CUDA.
- RAM — 32GB (2×16GB) DDR5-6000 CL30 (~$75): The proven AM5 sweet spot, tuned to keep the X3D's cache fed. 32GB covers gaming plus multitasking and light creative work.
- Storage — 1TB PCIe 4.0 NVMe SSD (~$60): A fast boot-and-games drive. Leave a slot free to add capacity later — this board has two M.2 sockets.
- Motherboard — B650 (~$115): A quality B650 board gives you robust VRMs for the 7800X3D, PCIe 5.0 M.2 and reliable memory support. X670E is overkill unless you need extra I/O.
- PSU — 750W 80+ Gold (~$75): Ample, efficient headroom for this hardware and any future GPU upgrade, with quiet fan behaviour under load.
- Case — mid-tower airflow chassis (~$70): A mesh-front mid tower with good fan mounts keeps the GPU and cooler breathing. Cable management space here makes the build far more pleasant.
- Cooling — dual-tower air cooler (~$35): The 7800X3D is remarkably efficient, so a well-reviewed $35 twin-tower cooler like a Thermalright Peerless Assassin keeps it near-silent. No AIO required.
The total lands right around $1,200–1,250 depending on the week — the graphics card is where a good sale pulls it firmly under budget.
Expected performance
At 1440p, expect ultra settings at well over 100 FPS in most modern titles. Competitive games run at 200+ FPS, more than enough for a 165 Hz display and its 1% lows staying high thanks to the X3D cache. Heavyweights like Cyberpunk 2077, Alan Wake 2 and Black Myth: Wukong hold 80–120 FPS at ultra with quality upscaling, and you can switch ray tracing on and lean on FSR/frame generation to stay smooth. This build is also a comfortable 4K 60 machine if you occasionally plug into a big TV, and it has the CPU headroom to feed a faster GPU down the line.
Build tips and pitfalls
Enable EXPO first thing so your memory runs at its rated 6000 MT/s. Mount the CPU cooler with even, moderate pressure — the 7800X3D does not need a monster, and over-tightening solves nothing. Give the BIOS a first-boot memory-training pause of up to a minute; it is normal. Watch cooler-versus-RAM clearance if you buy tall memory heatsinks, and make sure your dual-tower cooler clears the case side panel before you commit. As always, run the display cable to the GPU, not the motherboard. If you stream or edit, this is the point where a second, larger NVMe drive for project files starts to pay off.